Guide to Adding Caller ID to your Inbound Numbers
Step 1 : Login to your Telnyx Mission Control account.
Step 2 : Click on the "Real-Time Communications" on the top left side of the page.
Step 3 : Click on "Numbers" tab and then "Manage Numbers" tab to go into "My Numbers".
Step 4 : Mark the checkboxes for the numbers you'd like to edit.
Step 5 : You can also select all the number on using the checkbox listed above the top number (highlighted in red).
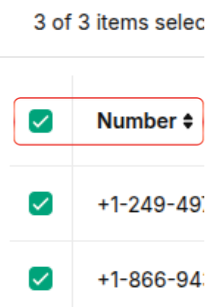
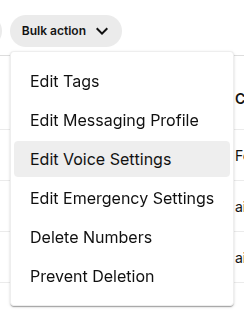
Step 6 : Once you have selected your desired numbers, click on the "Bulk action" button above.
Step 7 : A new window will pop up, click on "Edit Voice Settings" and select "CNAM".
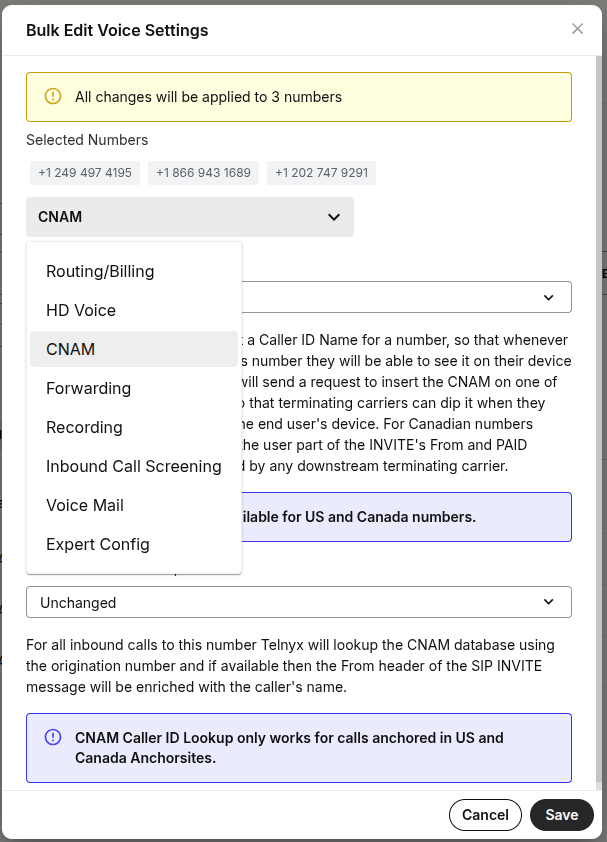
Step 8 : Click on "Enabled all" & fill out the name you want to display while making calls in the Define custom name field.
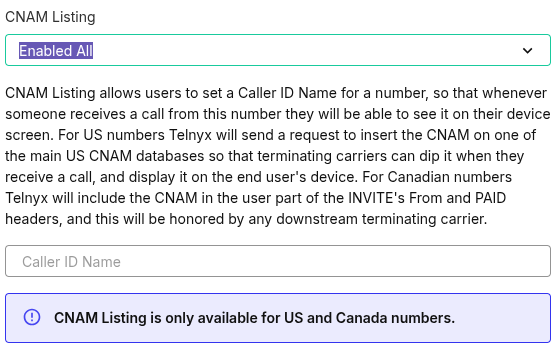
Step 9 : Click on "Save" and the desired caller ID will be updated for all your selected numbers.
PLEASE NOTE: This is a bulk edit function and any changes you make will be applied to all of the numbers you have selected
Related Articles